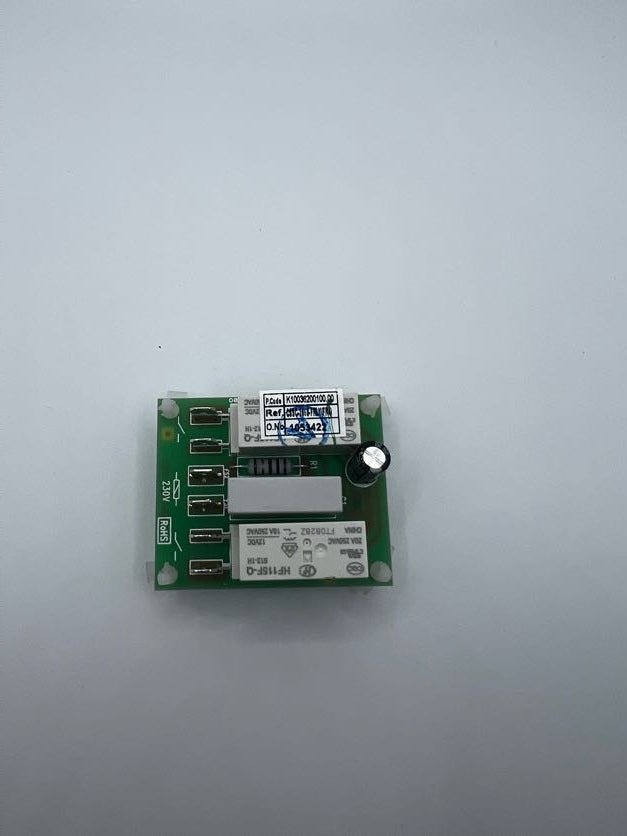
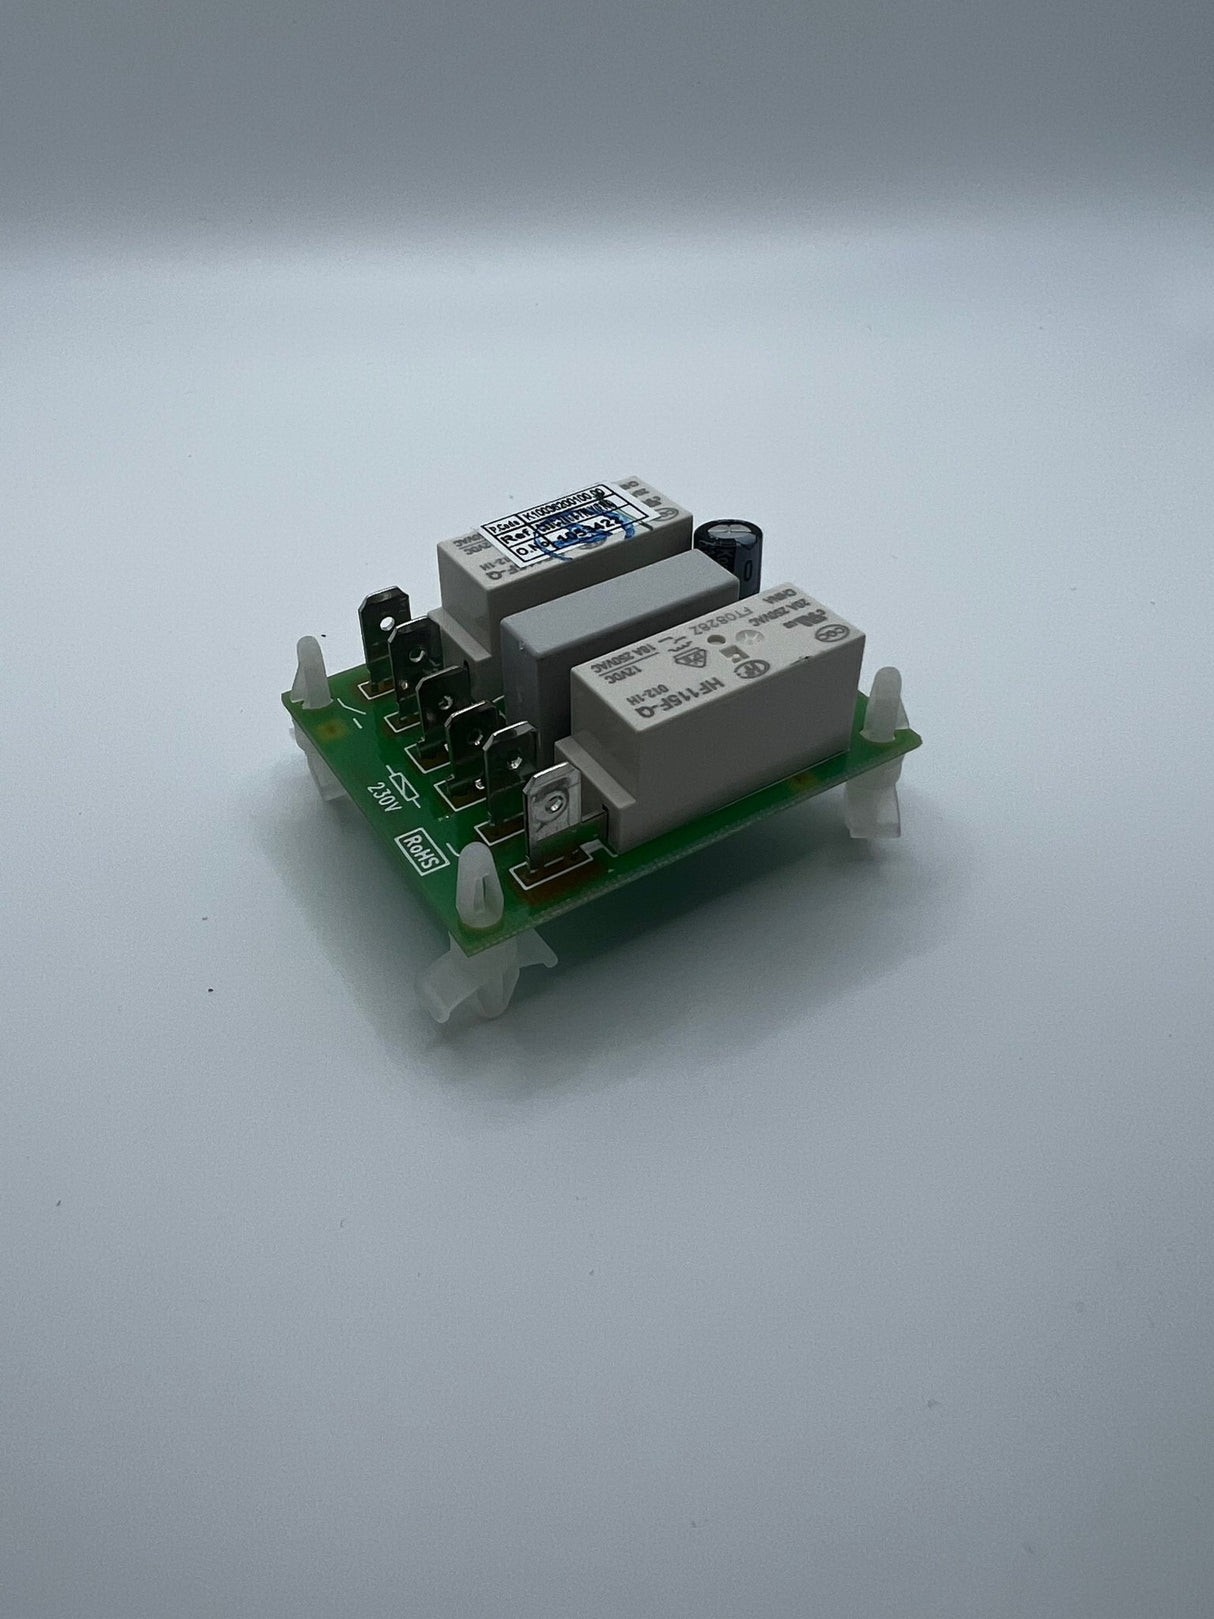
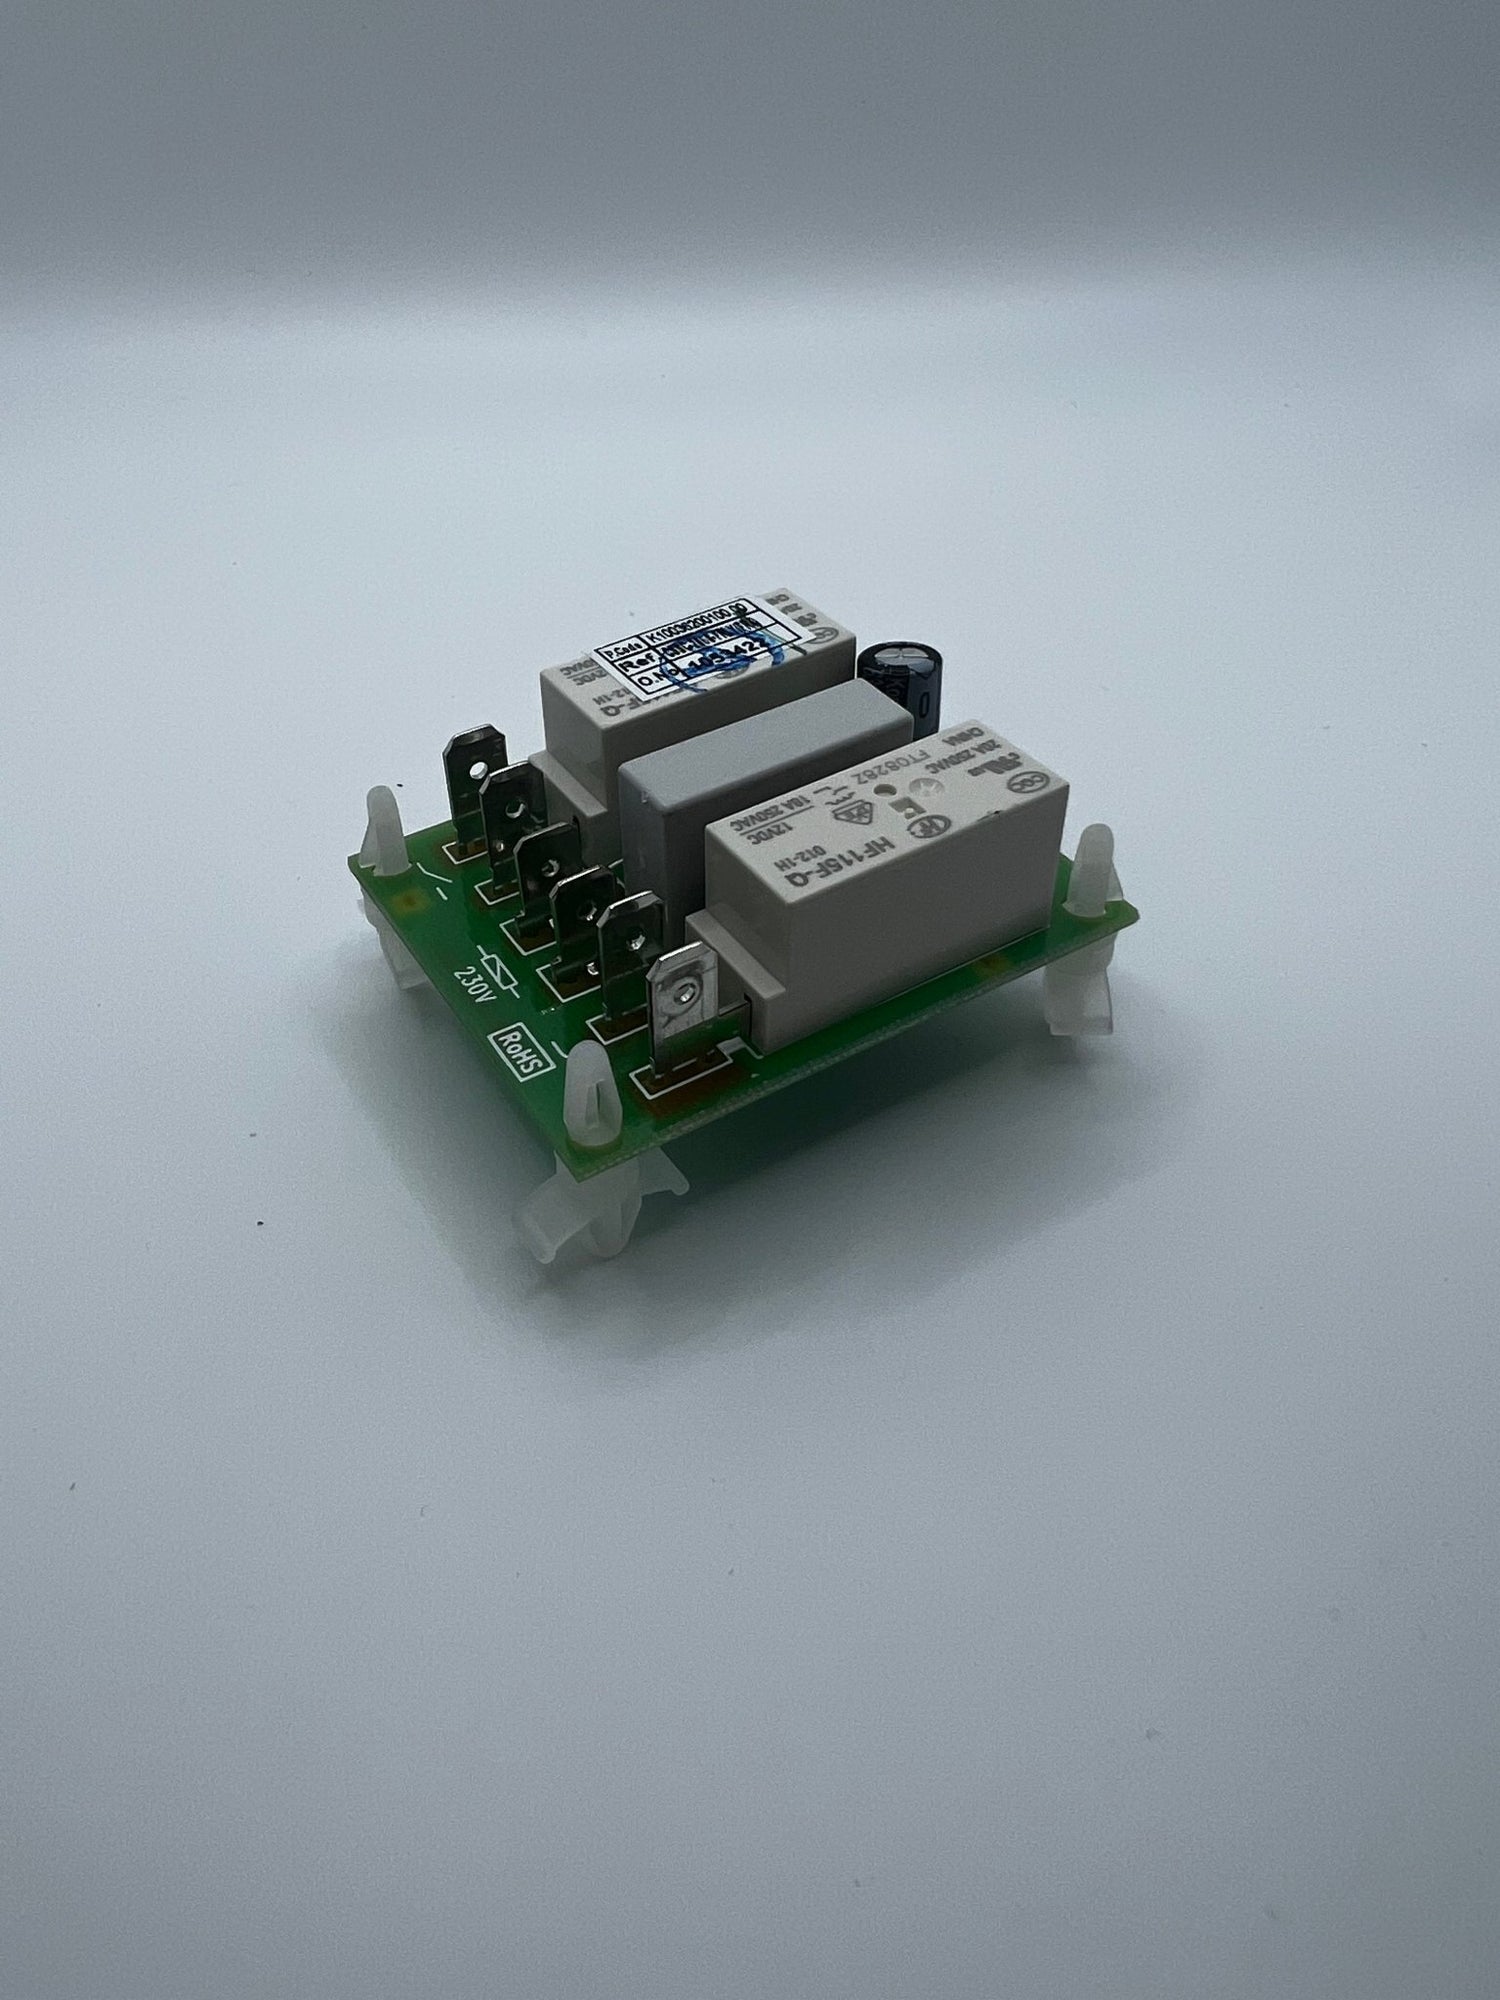
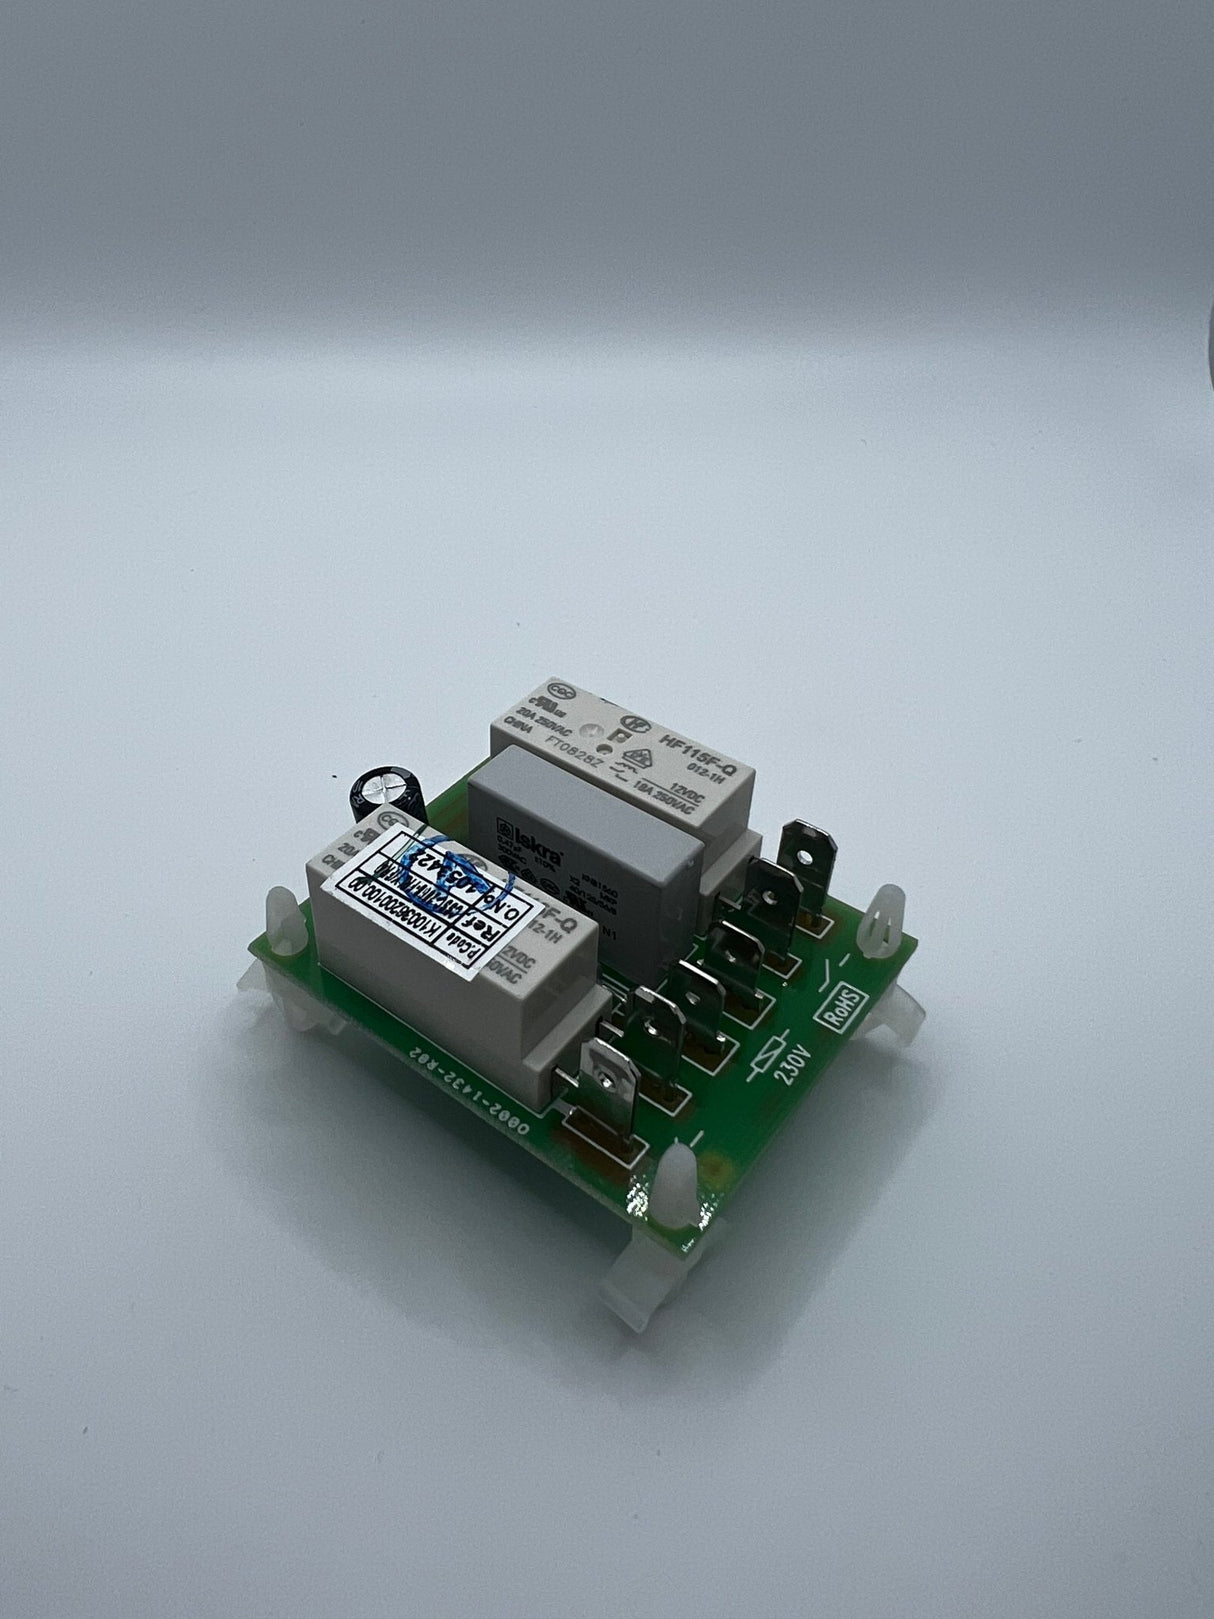
Smeg Oven PCB Control Board 811660001 811650197 0156
| Minimum Cart Quantity | Discount | Wholesale Price |
|---|
| Minimum Cart Amount | Cart Discount |
|---|
Smeg Oven PCB Control Board 811660001 811650197 0156 is backordered and will ship as soon as it is back in stock.
In Stock
In Stock
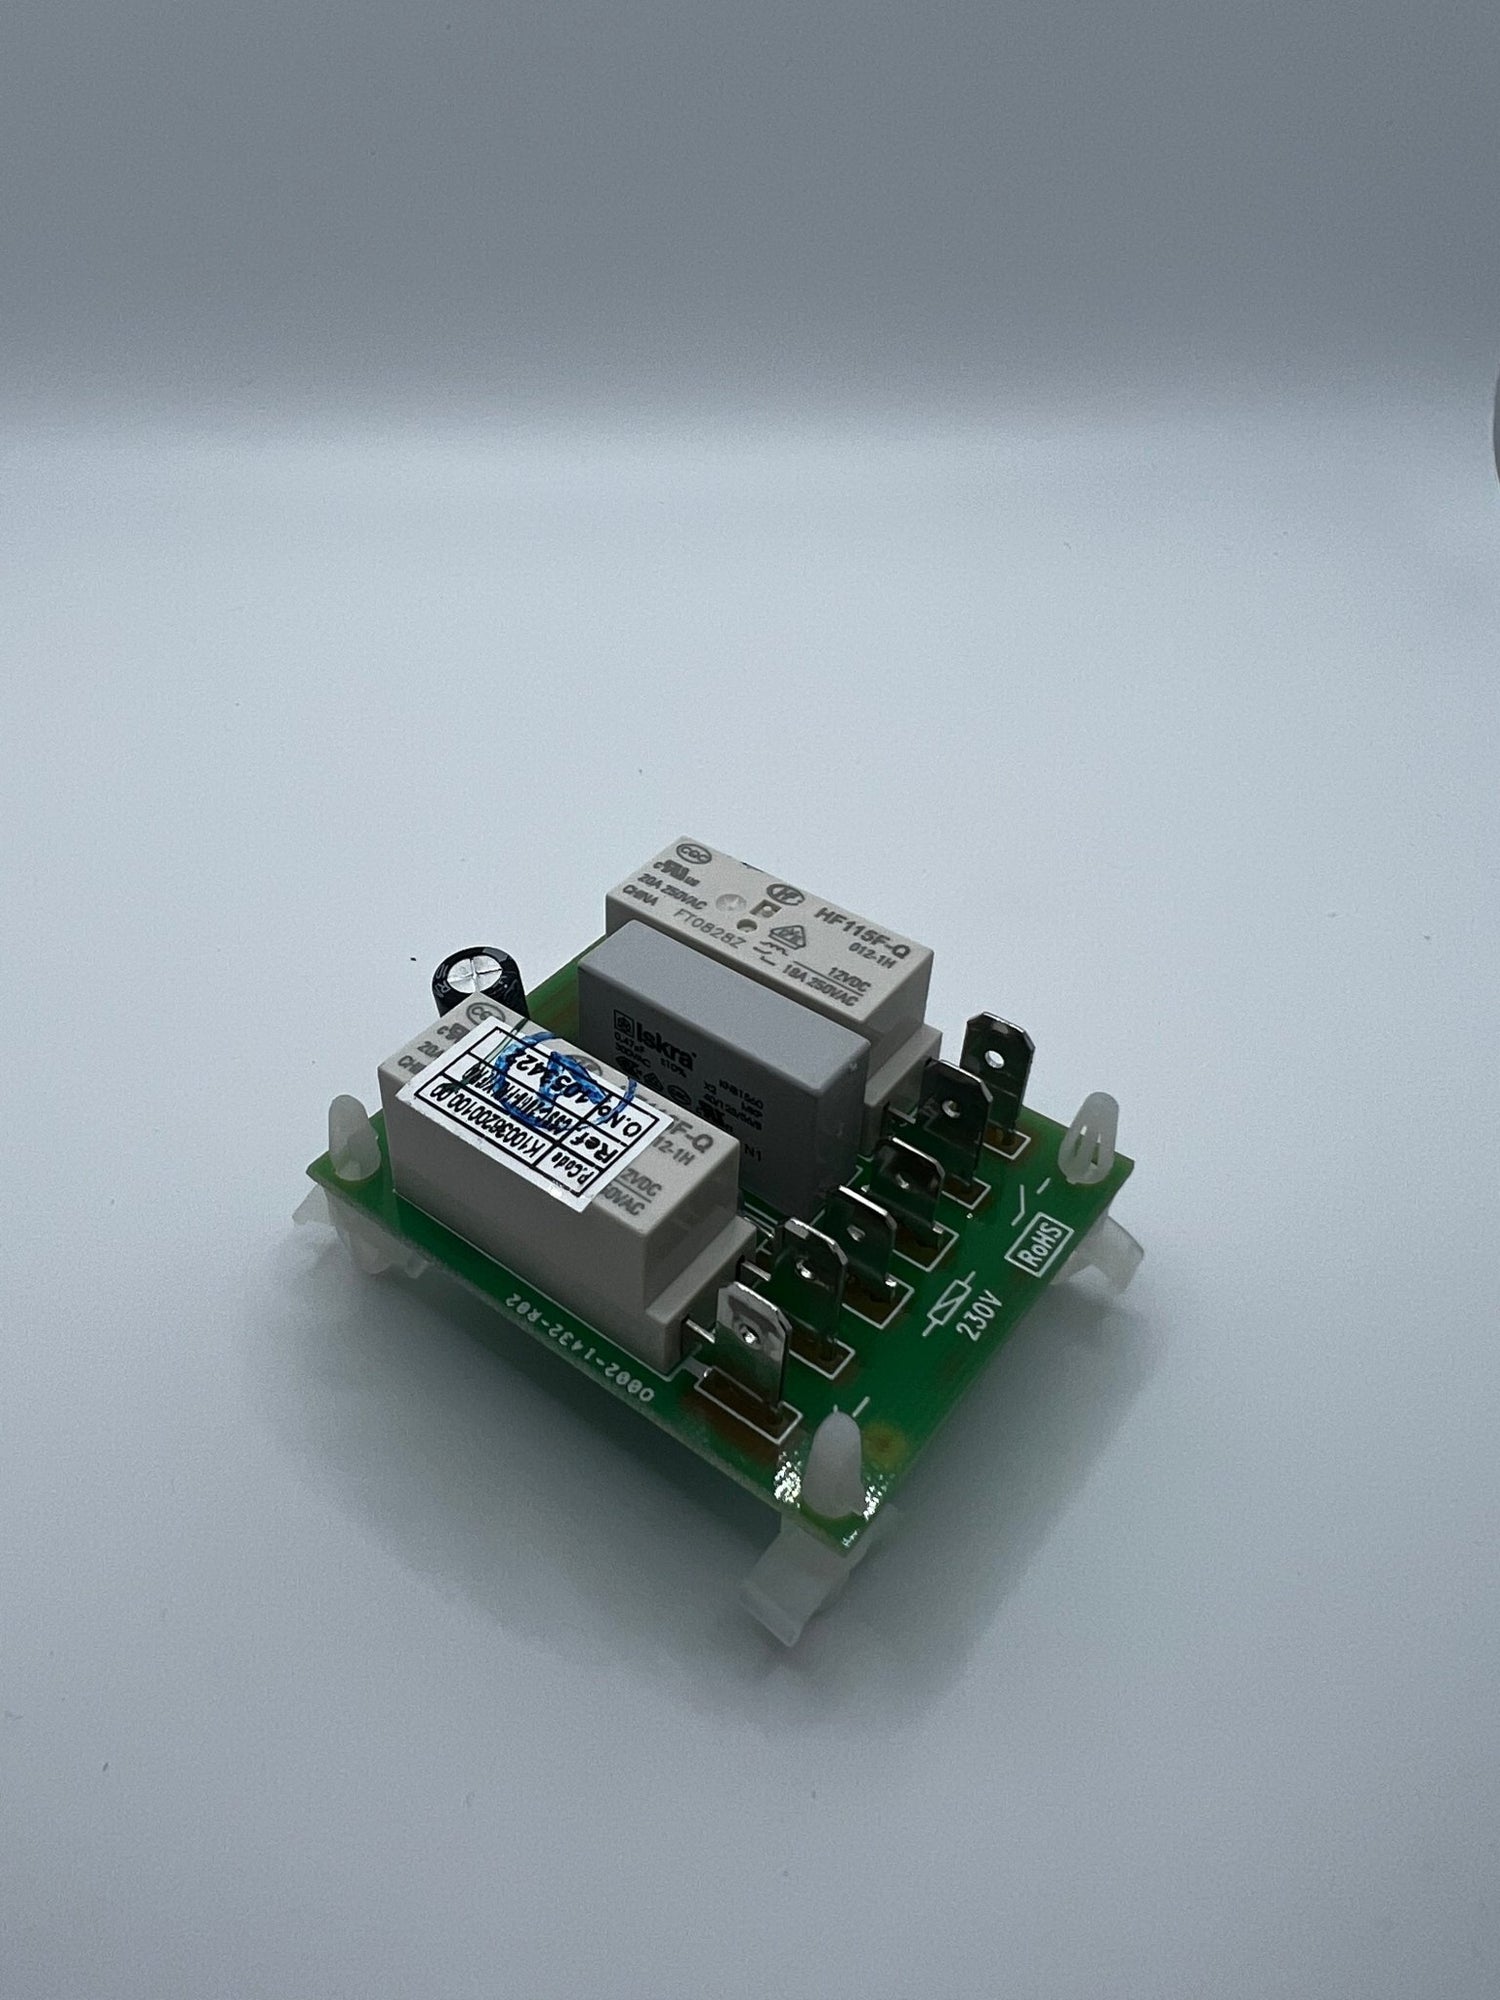
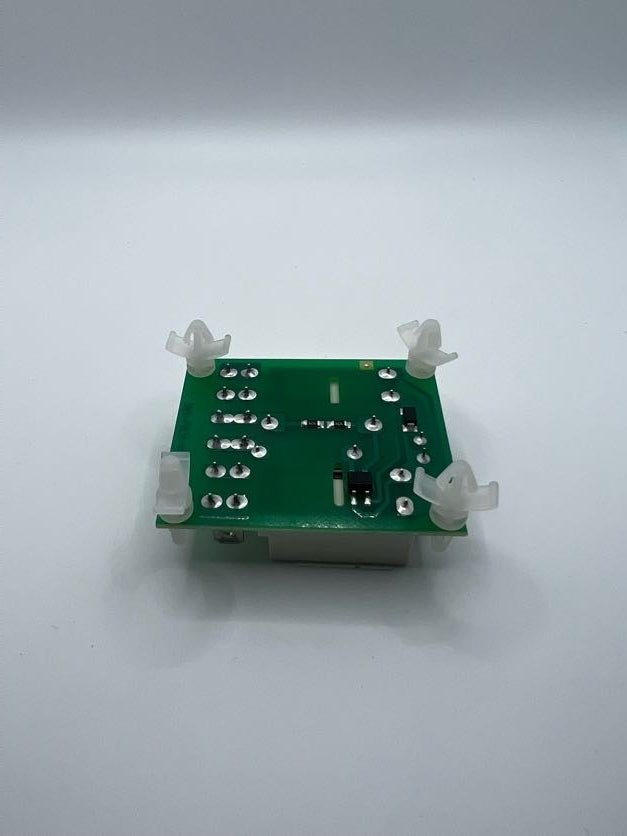
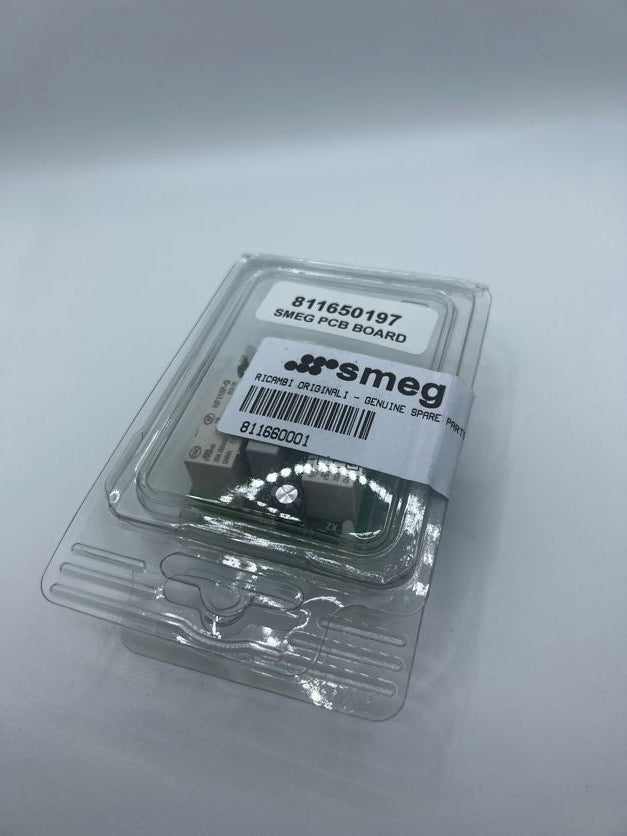
Smeg Oven PCB Control Board 811660001 / 811650197
Overview:
-
Part Numbers: 811660001, 811650197, 811651412, 43499, 10752, 152355, EBZ60821142
-
Type: Relay Control PCB
-
Condition: Brand New
-
Compatibility: Suits various Smeg and Omega oven models
Compatible Models:
-
Smeg:
-
SDK91CMX5
-
SNL90MFX5
-
SNL91MFX
-
SNZ90MFX
-
SNZ91MFA
-
SSA90MFX
-
SUK90MFX
-
SUK91CMFX
-
SUK91CMX5
-
SUK91MFA
-
SUK91MFX
-
SX91VMS-5
-
SX91VMSDK
-
SX93VMD
-
ALFA43STP
-
C9CIMX
-
C9CMX
-
C9CMXA
-
C9GMB
-
C9GMBA
-
C9GMN
-
C9GMNA
-
C9GMR
-
C9GMX
-
C9GMXA
-
CG90B
-
CG90IX
-
CG90N
-
CG90RW
-
CG90X
-
CL90FCEX
-
CL90FGAX
-
GA91CTX
-
GA91X
-
GCE9003
-
GID9002
-
GM90IX
-
GM90N
-
GM90RW1
-
GM90X
-
GSE9000
-
GSE9001
-
LF96105SS
-
ML9VC5EES
-
OF901XA
-
OF901XZ
-
OF902XA
-
OF902XZ
-
SA9010X
-
SA9065
-
SA9065XS
-
SA9066
-
SA9066AS
-
SA9066CER
-
SA9066LPG
-
SA9066XNG
-
SA9066XS
-
SCB90MFX
-
SCB90MFX5
-
SCB90MFX6
-
SCB91MCN
-
SCB91MCX
-
SCB91MFA5
-
SCB91MFN5
-
SCB91MFX
-
SCB91MFX5
-
SCD90CMX5
-
SCD90IMX
-
SCD90MFX5
-
SCD90MFX7
-
SCD91CMA5
-
SCD91CMFX
-
SCD91CMX5
-
SCD91MFA5
-
SCD91MFX
-
SCD91MFX5
-
SCD93MFX
-
SCD93MFX5
-
SCE90MFX
-
SCE90MFX5
-
SCE91MFX
-
SCE91MFX5
-
SCN91CMX5
-
SDK91CMX5
-
SIL91MFA
-
SNL90MFX5
-
SNL91MFX
-
SNL91MFX5
-
SNZ90MFX
-
SNZ91MFA
-
SNZ91MFA1
-
SNZ91MFX
-
SNZ91MFX1
-
SSA90MFX
-
SSA91MFA
-
SSA91MFA1
-
SSA91MFP1
-
SSA91MFP9
-
SSA91MFX
-
SSA91MFX1
-
SSA92MFX
-
SSA92MFX9
-
SUK90MFX
-
SUK91CMFX
-
SUK91CMX5
-
SUK91CMX7
-
SUK91CMX8
-
SUK91MBL5
-
SUK91MBL7
-
SUK91MBL8
-
SUK91MFA
-
SUK91MFA5
-
SUK91MFX
-
SUK91MFX5
-
SUK91MFX7
-
SUK91MFX8
-
SX91VMS-5
-
SX91VMSDK
-
SX93VMD
-
TR90BL
-
TR90BL1
-
TR90BLD
-
TR90CNL
-
TR90NNL
-
TR90P
-
TR90P1
-
TR90PD
-
TR90X
-
TRA90BL
-
TRA90P
-
TR90BL
-
TR90P1
-
TR90PD
-
TR90X
-
TRA90BL
-
TRA90P
-
Specifications:
-
Type: Relay Control PCB
-
Voltage: 230V AC
-
Power Rating: Typically 2.4kW
-
Dimensions: Approximately 60mm x 50mm
-
Mounting: Bolt-on design
-
Material: High-quality PCB with relay components
Usage Instructions:
-
Preparation: Ensure the oven is disconnected from the power supply.
-
Removal: Locate the existing control board and remove any screws or clips securing it.
-
Replacement: Disconnect the wiring from the old board and connect it to the new board, ensuring correct orientation.
-
Installation: Secure the new board in place and reassemble any removed components.
-
Testing: Reconnect the power supply and test the oven to ensure proper functionality.
We are always trying to guarantee that your package arrives to you as quickly as possible. Please keep in mind that some conditions, such as weather, excessive postal traffic, and shipping company performance, are beyond our control.
We aim to ship all domestic purchases within 1 business day of your order being placed and should arrive to you in 2-5 business days.
All of our packages are sent via Australia Post. We do not offer International Shipping currently.
Shipping costs is $15 for standard shipping and $25 for express, with free shipping over $100.
Should your order not arrive or get lost in transit, please contact us on info@myovenspares.com and we will investigate.
You can track your order here.
We hope you are happy with your purchase.
However, if you are not completely satisfied with your purchase for any reason, you may return it to us for store credit or an exchange. Please see below for more information on our return policy.
RETURNS
All returns must be postmarked within seven (7) seven (7)days of the purchase date. All returned items must be in new and unused condition, with all original tags and labels attached.
RETURN PROCESS
To return an item, please email customer service at customerservice@myovenspares.com to obtain a Return Merchandise Authorization (RMA) number.
After receiving a RMA number, place the item securely in its original packaging to the below address:
My Oven Spares
Attn: Returns
12/5 Hudson Avenue
Castle Hill NSW
2154
RMA #
REFUNDS
After receiving your return and inspecting the condition of your item, we will process your refund within ten (10) days.
EXCEPTIONS
The following items cannot be returned or exchanged:
● SPECIAL ORDER items
For defective or damaged products, please contact us at the contact details below to arrange a refund or exchange.
Please Note
● Sale items are FINAL SALE and cannot be returned.
QUESTIONS
If you have any questions concerning our return policy, please contact us at: customerservice@myovenspares.com
Payment & Security
Payment methods
Your payment information is processed securely. We do not store credit card details nor have access to your credit card information.

